 KIKOMONO
The short answer
Moving a WordPress site to a new VPS is four jobs in a fixed order: prepare DNS, copy the site, test the copy, then switch traffic. The most common failure is doing them in the wrong order — switching DNS to a server that has never served the site, and then debugging in front of visitors. Every step below is a check, not a guess: if a step fails, stop and fix it before the next one.
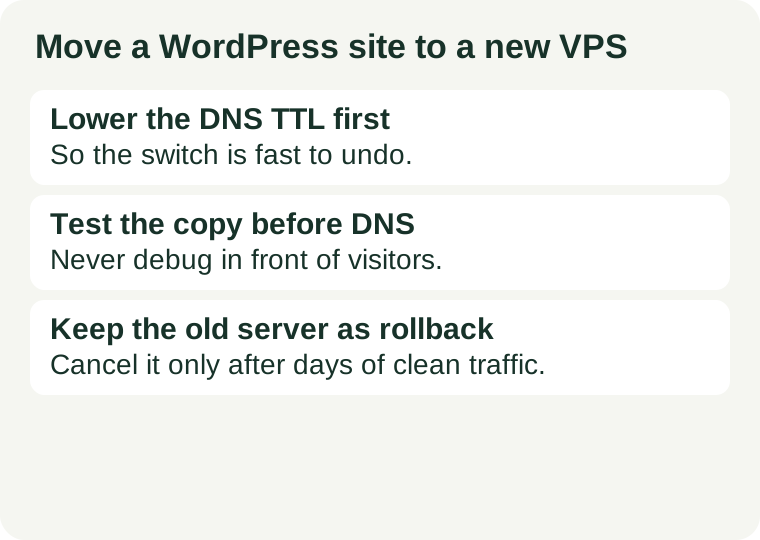
The order matters because each step protects the next. A lowered TTL makes the switch fast to undo. A tested copy makes the switch boring. An old server kept running makes a bad switch survivable. Skip one and the other two cannot save you.
Step 1: lower the DNS TTL a day or two before the move
DNS records carry a TTL — the time resolvers are told to cache them. If your domain's TTL is long, a DNS change can take a long time to reach every visitor, and a rollback takes just as long. Lower the TTL on the records you will change a day or two before the move, so the shorter value has time to spread while the old server is still serving everyone.
Do not lower the TTL and switch DNS in the same hour: resolvers that cached the old long TTL before your change will still honour it. The waiting is the point. Note the current TTL and the time you changed it, so you know when the shorter value is in effect.
Step 2: build the new server and copy the site
Set up the new VPS first: web server, PHP, database, and the firewall, with the same major versions the site already runs on where you can. Our new VPS firewall check covers the first thing to lock down, and verifying the storage is really NVMe is worth doing now, while the server is still empty.
Then copy the site in two parts, files and database, and keep them as a pair from the same moment. The files are everything under the site root: core, themes, plugins, and uploads. The database holds the posts, settings, and users. A copy made at two different times can disagree with itself — a post whose images arrived in a later copy, or a setting that changed between the two exports. If the site is busy, put it in maintenance mode briefly while you take the copy, so nothing changes underneath you.
Before you copy, make a backup of the live site and keep it somewhere that is not either server. Our backup restore test explains how to prove that backup actually works; a move is the worst moment to discover it does not.
Step 3: fix the site URL on the copy
If the domain name stays the same, the site URL stored in WordPress stays the same too — but confirm it rather than assuming it. WordPress stores the address in Settings > General, as the WordPress Address and the Site Address. WordPress's own migration guide documents two ways to set them when the admin screen is unreachable: defining WP_HOME and WP_SITEURL in wp-config.php, or the temporary RELOCATE flag, which must be removed again afterwards because leaving it in place lets anyone change your site URL.
Do not run a plain find-and-replace on the database to change URLs. WordPress stores some settings as serialized data, where each value carries its own length; a naive replacement changes the length without updating the count and corrupts the value. Use a tool built for serialized search-and-replace, or a migration plugin that handles it, and check the result on staging before it goes near production.
Step 4: test the copy as if it were live
Point the domain at the new server's IP in your own computer's hosts file, or use a temporary hostname, and browse the copy without touching public DNS. Check the things visitors and editors actually use, not just the homepage.
| Check | Pass looks like |
|---|---|
| Homepage and one inner page | Both load with styles and images, no errors, no mixed-content warnings. |
| Admin login | You can sign in and reach the dashboard without a redirect loop. |
| Newest content | The latest post and its images are present, with dates intact. |
| Forms and comments | A test form submits and a test comment saves. |
| Media and uploads | Images open; new uploads land in the uploads folder. |
| Certificate | HTTPS works on the new server for the real domain, or is ready to be issued at switch time. |
| Scheduled jobs | The cron jobs the site depends on exist on the new server, not only on the old one. |
If any check fails, the copy is not ready and DNS stays where it is. A failed test on staging is useful; the same failure after a DNS switch is an outage.
Step 5: switch DNS, then watch the old server too
Change the DNS record to the new server's IP and watch both servers. Some visitors will reach the new server at once; others will keep reaching the old one until their cached record expires. That overlap is normal, and it is the reason the old server must stay up and stay correct for a few days: a visitor who lands on the old copy and submits a form or leaves a comment is writing to data you are about to abandon.
During that window, avoid publishing, editing, or taking orders on either copy unless you know which one is live for you — check the server, not your memory. If the site takes comments, orders, or sign-ups, consider a short maintenance window at the switch so no submission lands on the wrong copy.
After the switch, check the new server's error log, not just the homepage. A page can load while a plugin, a scheduled job, or an upload path is quietly failing. Then confirm the certificate is valid for the real domain and renews automatically, and re-check the checks from step 4 against the live domain.
When the old server can go
Cancel the old VPS only after the new server has served real traffic for a few days with no errors in the log, and after you have a fresh backup of the new server — one you have verified, not one you assume. Until then the old server is your rollback: if the new server fails, DNS can point back to a working copy in minutes, because the TTL is already low.
Before cancelling, confirm nothing else still points at the old server: a subdomain, an email route, a scheduled job, or an API key tied to its IP. Cancel the server, not the data: keep the final backup of the old copy for a month after the move, in case something only shows up later.
Five silent failures to look for
1. Serialized data corrupted by find-and-replace. A database edit that changes a URL's length without updating its stored count breaks the setting silently. The site may load while a widget, a plugin setting, or a menu quietly loses its value.
2. Uploads left behind. The database copy is small and the uploads folder is large, so it is the part most often skipped or truncated. Missing images show up one post at a time, days later.
3. The old server still taking writes. Comments, orders, and form submissions that land on the old copy during DNS overlap never reach the new one. A maintenance window at the switch prevents this; discovering it afterwards does not fix it.
4. Cron jobs nobody moved. Scheduled posts, backups, and plugin jobs live on the server, not in the WordPress database. A site can look fine for a week and then silently stop publishing on schedule.
5. A certificate that was never issued on the new server. The old server's certificate does not travel with the files. If HTTPS is not ready on the new server, visitors meet a browser warning at the exact moment you told them the site moved.
Scope and further reading
WordPress's own migration documentation, checked on 2026-11-09, is the authority for the URL settings, the wp-config.php constants, and the RELOCATE flag used in this guide: Migrating WordPress — Advanced Administration Handbook. This guide covers a single WordPress install moving to a new server with the same domain; a multisite network or a domain change needs the additional steps in that handbook. If your move is driven by traffic growth rather than a server change, read what breaks first when traffic grows first — a bigger server fixes capacity, not a plugin that cannot scale. For choosing the new server itself, see how to choose your first VPS.
Source links on this page are not affiliate links. DNS and certificate behaviour described here is general practice; your host or DNS provider's own panel is the authority for its exact steps.